

Cooler Latch Surgery
/Cooler latches sometimes end up in hard to reach spots on your raft. Here are a couple of things we’ve done to make latches easier to work with when they’re in a tight place.


We recently did a build for a customer who wanted everything to be on the same plane and tight together. This created a challenge when it came to operating the latches on their Canyon Navigator 150.
A quick bit of playing with the latch on the rig showed that if the latch was about ½ the “throw length” it could work. Also, if the latch had a flexible means of being able to pull against the latch’s tension, it would be more functional.


To help us think about how we could shorten the latch, we put the cooler on a table in the shop.
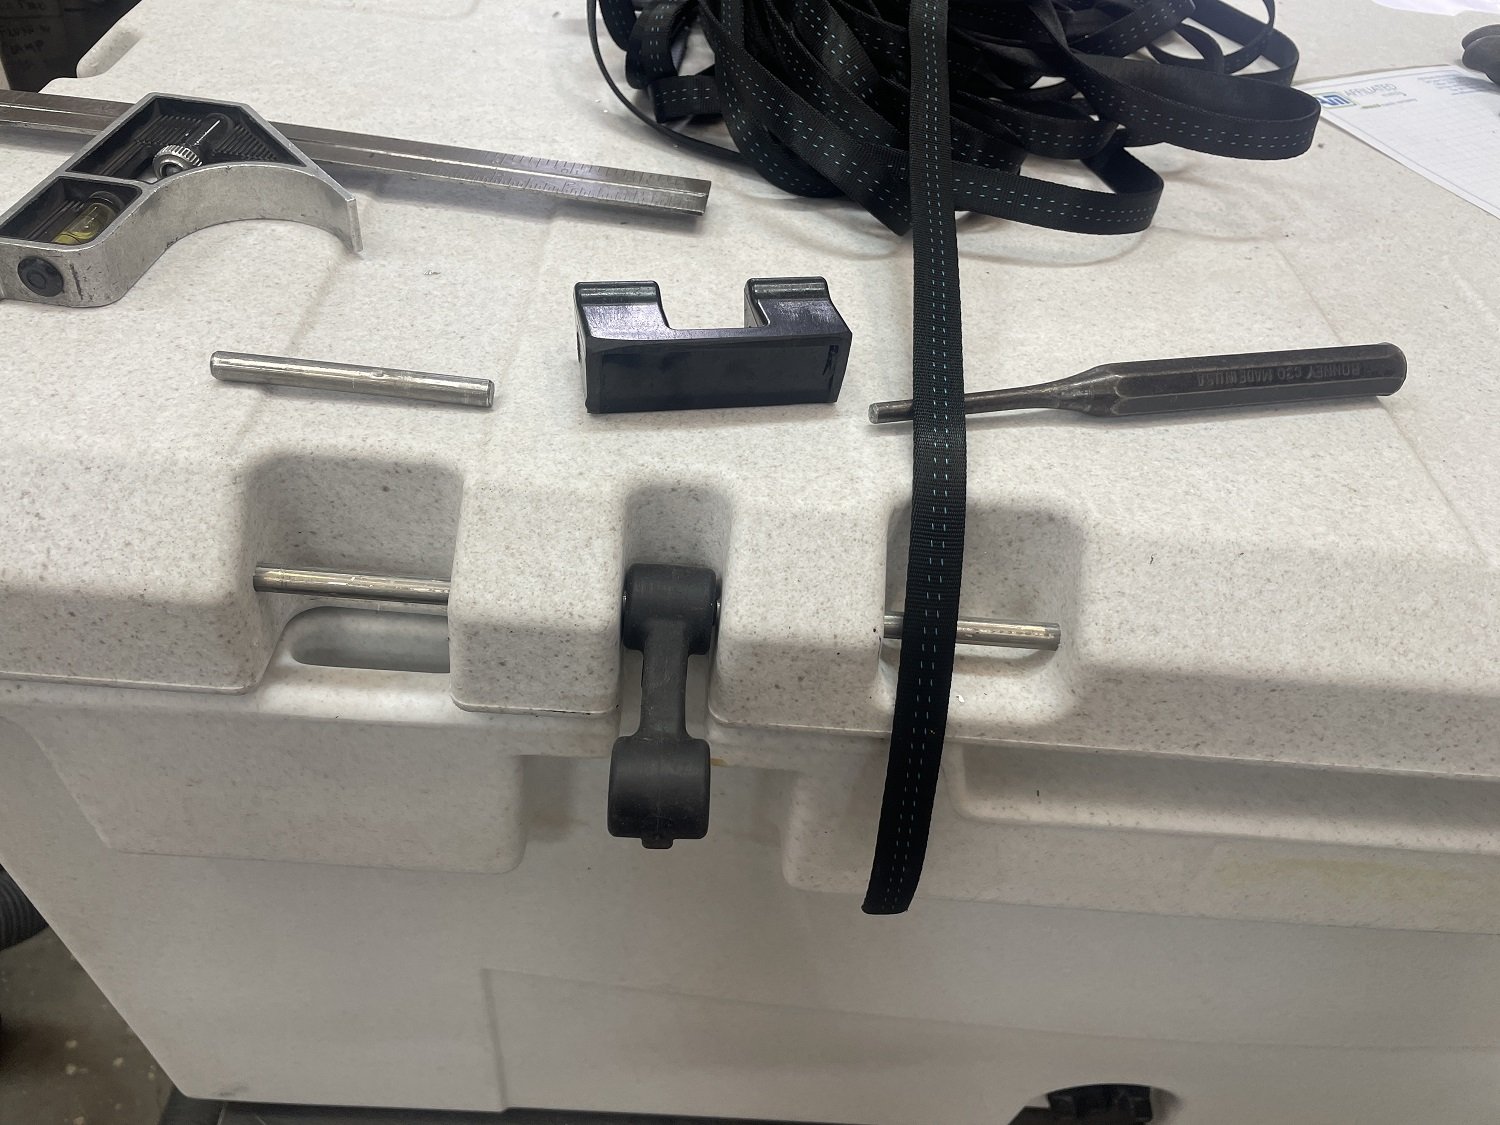
Canyon Coolers makes it so you can replace the plastic part of the latch of their 150s. You can use a metal rod or dowel the same size as the pin to press the pin out.


We then marked where we wanted to cut the latch, used a band saw for the cut, and then rounded off the corners with a sander. If you don’t have a band saw, you could use a hack saw. Pro tip - watch your fingers and wait until after playing with power tools to drink the beer you have stored in your cooler.


Next, we cut about 18” of ½” webbing to put on the latch. We then pressed the pin back into the latch and rubber latch tensioner.


Voilà - the swing space needed for the latch has been cut in half.
Another way to make cooler latches easier to get to is by drilling a small hole and then threading 2 mil cordage through. We’ve used this technique with the other style of Canyon Cooler latches as well as on Engel’s cooler latches.
Just be sure to think your whole latch surgery through prior to cutting, drilling or otherwise altering your cooler’s latches.
We hope these couple of techniques can help you come up with some of your own ideas about how to make your raft set up easier to interact with.
Enjoy your time on the river.
-
September 2022
- Sep 16, 2022 The All Flat Raft Frame - part 2 of 2 Sep 16, 2022
-
July 2022
- Jul 14, 2022 The All Flat Raft Frame - part 1 of 2 Jul 14, 2022
-
May 2022
- May 12, 2022 Cooler Latch Surgery May 12, 2022
-
April 2021
- Apr 4, 2021 Comparing 12’ Rafts - Hyside Max 12 v NRS 12’ Osprey Apr 4, 2021
-
January 2021
- Jan 19, 2021 Designing for Cooler Latch Clearances Jan 19, 2021
-
November 2020
- Nov 4, 2020 Trying out a few new ideas on our 2020 NRS E-160 demo raft. Nov 4, 2020
-
April 2020
- Apr 21, 2020 Oar Tower Placement & The 4-bay Raft Frame Design Challenge Apr 21, 2020
-
October 2019
- Oct 31, 2019 Adding Side Decks with SeaDek to a Single Rail Frame Oct 31, 2019
-
August 2019
- Aug 23, 2019 Oar Tower Testing: Speed-Rail fitting with stanchion vs NRS frame oar mount Aug 23, 2019
- Aug 12, 2019 Can you put SeaDek foam on Diamond Plate Decks? Aug 12, 2019
-
May 2019
- May 17, 2019 Choosing & Setting Up a Raft Bimini May 17, 2019
-
March 2019
- Mar 28, 2019 Finishing details of the first CHUB Mar 28, 2019
- Mar 15, 2019 Comparing 16' Rafts - NRS E-160 v Hyside PRO 16 XT Mar 15, 2019
-
November 2018
- Nov 6, 2018 Our Aluminum "Chub" Hatchery. Nov 6, 2018
-
August 2018
- Aug 11, 2018 New Raft - New Ideas Aug 11, 2018
- Aug 2, 2018 Testing out using foam for the side decking on a raft frame Aug 2, 2018
-
June 2018
- Jun 30, 2018 Rigging Rails for Raft Frames Jun 30, 2018
-
May 2018
- May 29, 2018 Hog Island - One River Many Voices Project May 29, 2018
-
March 2018
- Mar 22, 2018 Dry Box Tray Mar 22, 2018
- Mar 8, 2018 A visit from the Wooden Brother Mar 8, 2018
-
February 2018
- Feb 16, 2018 The Details in the Dories Feb 16, 2018
- Feb 7, 2018 Dory Build - the "Dimock" Evolved Briggs Boats Feb 7, 2018